


Firstly, can you believe this is the same kitchen? See the before below!

It's seen quite the glow up!
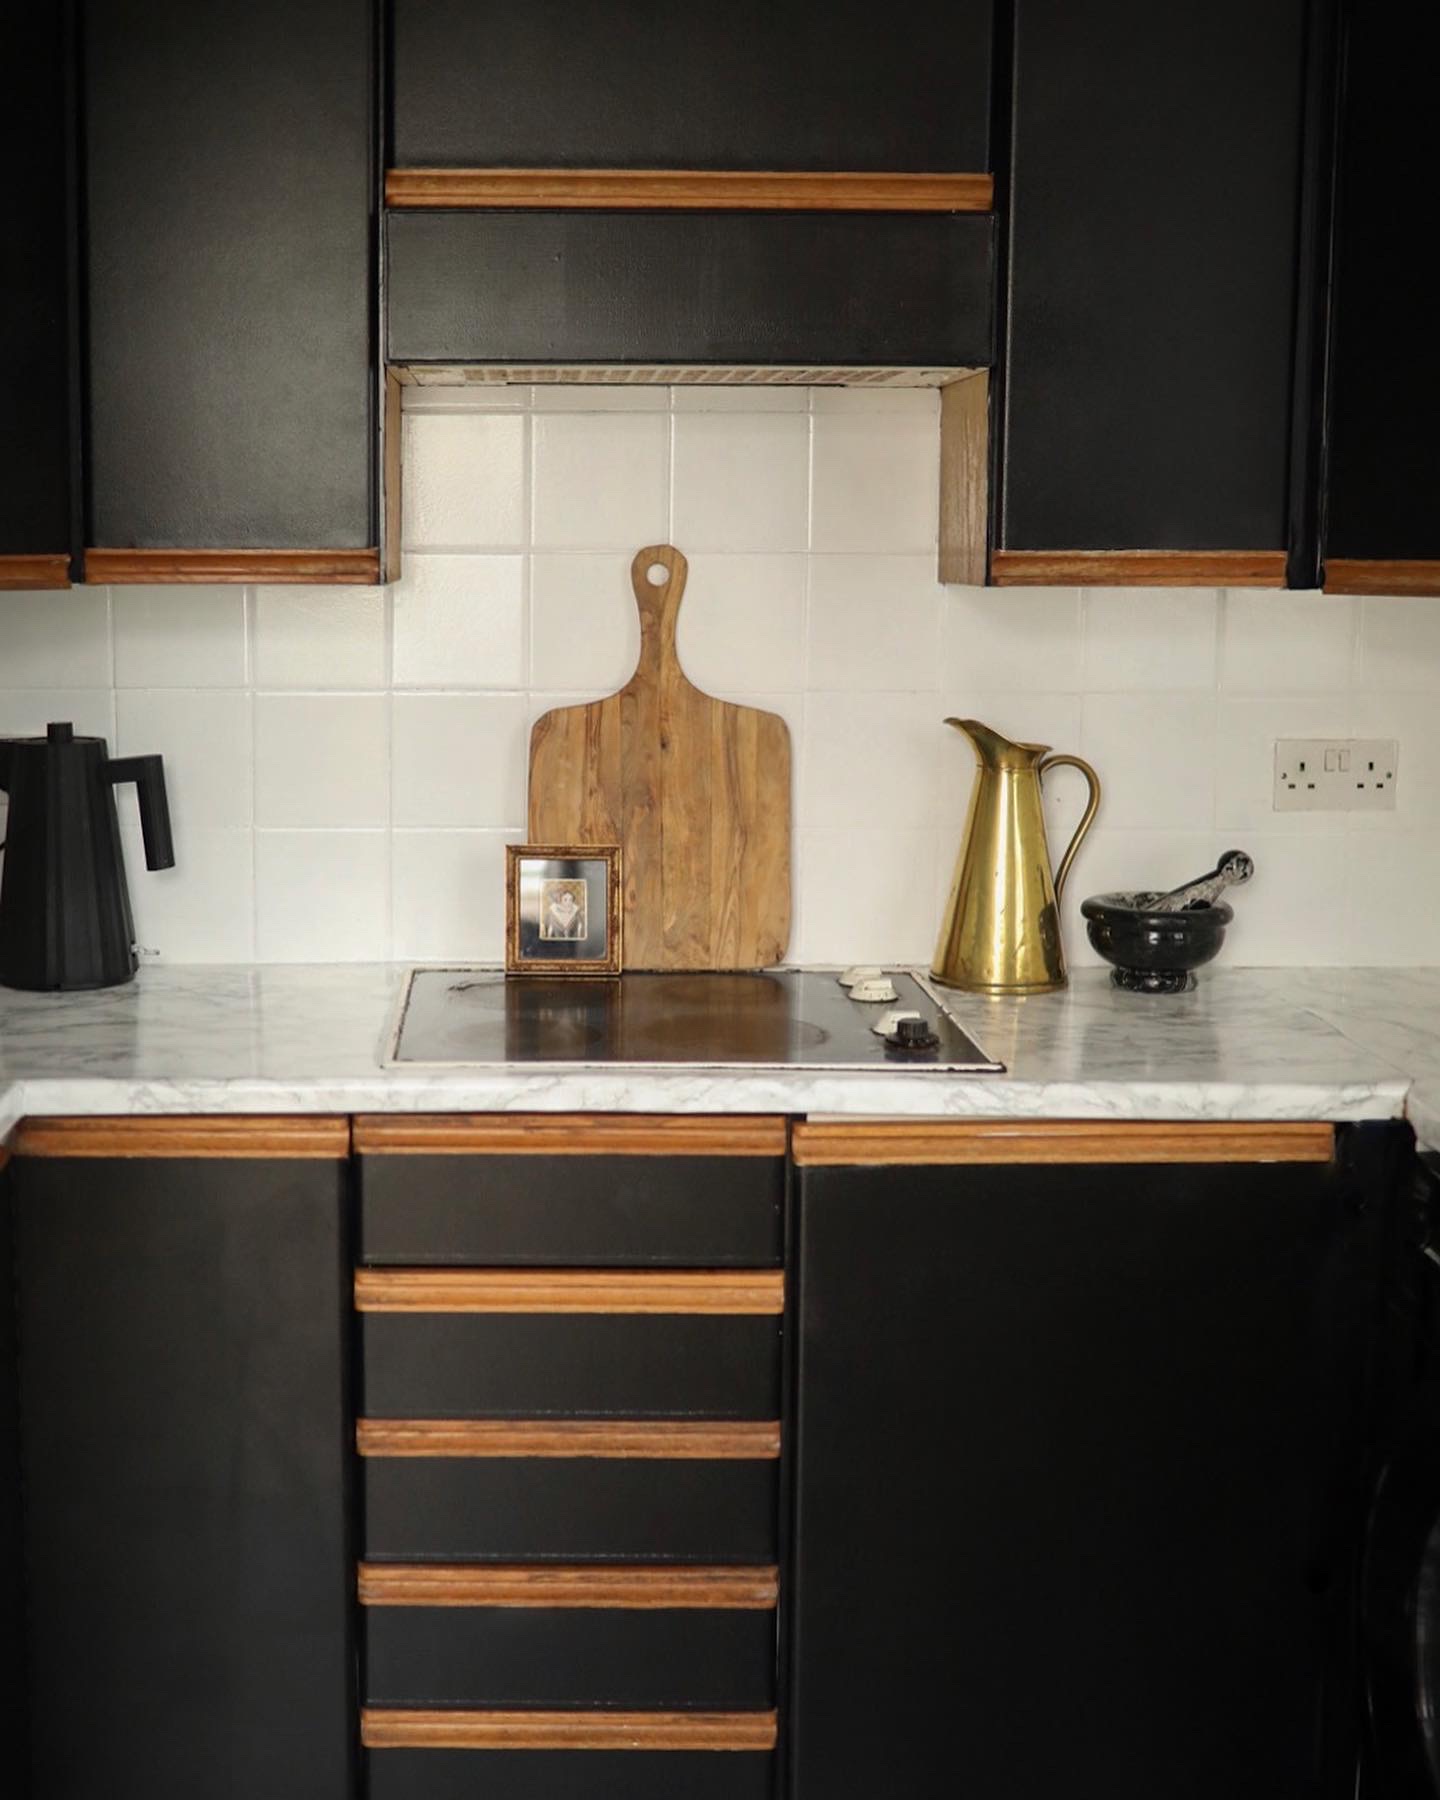
We moved into our new house in October 2020. When I say new, it's a 1887 Victorian semi detached house and it needs everything doing! I'm talking floral wallpaper.. matching carpets - the lot! So, at the moment the kitchen is not a priority for us. We've got the usual victorian lay out, so our kitchen is sat right at the back the house and it is tiny! Realistically we need to add a side extension to extend the width to give the kitchen the space it deserves. However at the moment I think it makes sense to work with the space we already have (the rest of the house.) So, for now the kitchen needed a little "glow up" on a tight budget of £100.
So, armed with a few essentials I got to work!

First of all, the red tiles had to go! I used Ronseal One Coat Tile Paint whilst It wasn't exactly a one coat job, it did the trick in covering the nasty red tiles - all in all, it took 3 coats. If you have a lighter colour tile you may be lucky and only need 1/2 coats but for a brighter/darker colour the more coats the better coverage in my experience.
I used a small roller to apply each coat which I wrapped up in clingfilm after each use to keep it from drying out between coats. I hate washing brushes and rollers so this avoided having to wash them between uses.


See the difference between coat one and coat two?

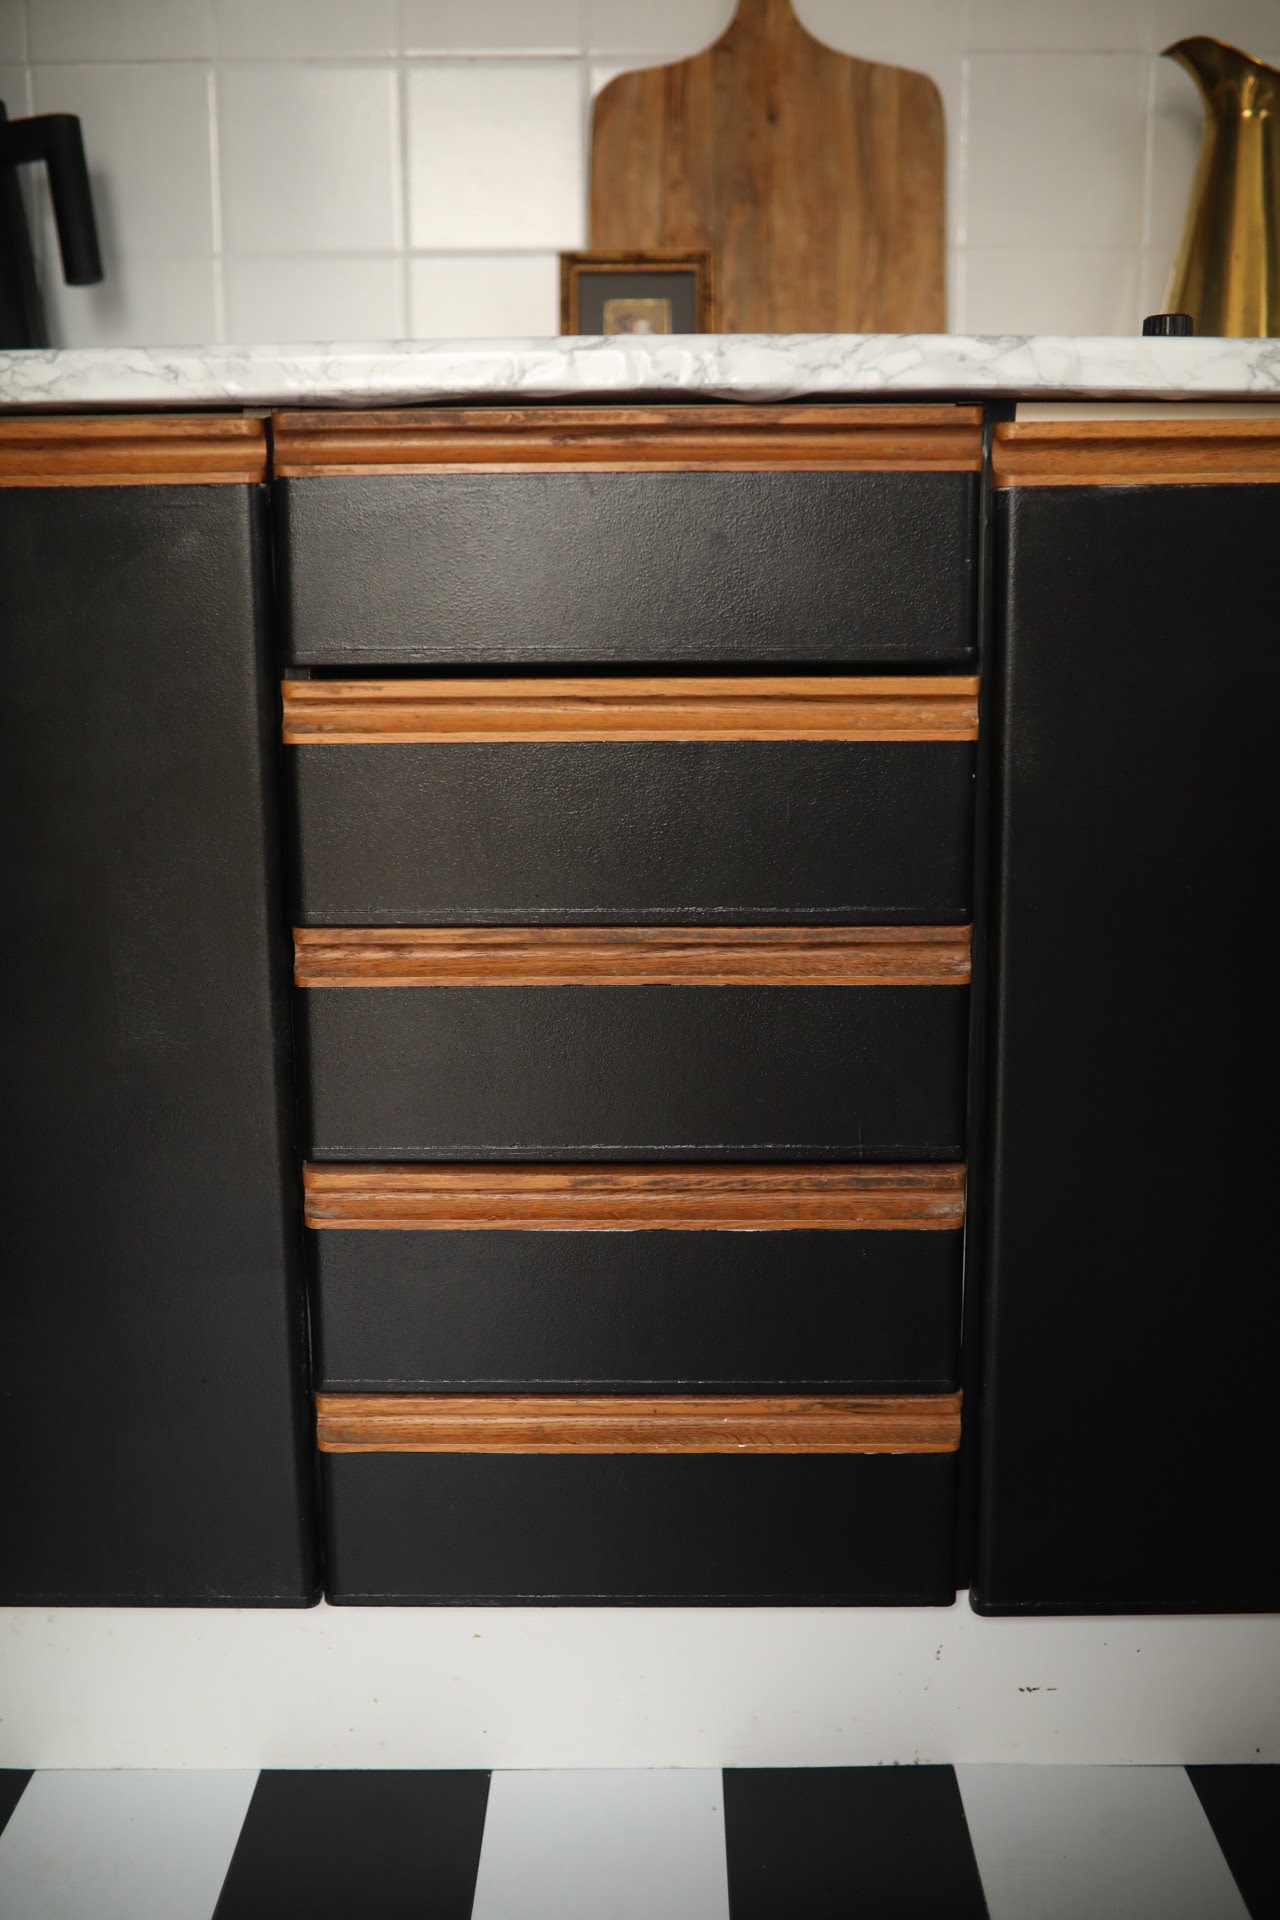
The cabinets had a weird vinyl texture to them so to help the paint adhere to the cabinets, I primed them using Zinssser 1,2,3 Primer. This primer is incredible and I know I'm going to be using this on everything going forward. Anything to avoid having to sand! This stuff will prime any surface for painting!
To paint I used a regular black wall paint with a foam roller. I probably should have used a specific cabinet paint to be honest but the Dulux Walls and Ceiling in Rich Black did the job! It was in the sale and has lasted so well considering the daily use of the kitchen, so I don't think It matters too much. Like I said, this is a temporary fix for a year or so so I'm not too worried.

The worktop was in okay condition however it had an off blue tinge to it, so I thought it would be quick and easy to apply a vinyl wrap to the worktops. I purchased three rolls of the DC Fix marble effect vinyl which was more than enough. I purchased more than I needed as I wanted the hob to have an entire stretch of vinyl without any cuts, and the same with the sink. So the only joins are where each side meets the next direction of worktop. This did take time and patience but it was SO worth it. It's a great quick fix if you fancy a change with minimal faff.

Again, another quick and temporary fix that would work in any room.. self adhesive tiles. They'd look great in a rented bathroom! You simply cut to size if needed, un peel the sticker off the bottom and laid each one down, starting in the corner. They're not an actual tile, more of a thicker plastic material. They're super easy to clean and have held up with all the traffic in the kitchen.
They've really helped transformed the space!


And that's it! All the other accessories I've bought in from other rooms to help style the space.
What do you think?


Ronseal Tile Paint - Dulux Rich Black Paint - Zinsser Primer - DC Fix Marble Vinyl - Self Adhesive Floor Tiles
No comments
Post a Comment